How to Repair a Damaged Wooden Fence Post
When it comes to maintaining your home’s outdoor aesthetic and security, a sturdy wooden fence plays a vital role. But over time, even the best wooden fence can face challenges like rot, weathering, or accidental damage. So, how do you repair a damaged wooden fence post? This guide will walk you through the process step-by-step, ensuring you can restore your fence to its former glory.
Understanding the Problem: What Causes Wooden Fence Posts to Rot?
Before we jump into the repair process, let’s take a moment to understand why wooden fence posts may rot. Knowledge is power, right?
- Moisture Exposure: Wooden posts are particularly vulnerable to moisture. Rainwater can seep into the wood, leading to rot. This is especially common in areas with poor drainage or high humidity.
- Soil Contact: When wooden posts are buried directly in the ground, they’re more susceptible to moisture and pests. This close contact can accelerate deterioration.
- Pest Infestation: Termites, ants, and other wood-boring insects can wreak havoc on wooden posts. Once they start munching away, it’s only a matter of time before structural integrity is compromised.
- Lack of Maintenance: Just like a car or a home, a fence needs regular care. Neglecting to treat or seal wood can expose it to the elements and increase the chances of damage.
Wooden Fence Post Repair vs. Replacement
Now that we’ve identified some potential culprits, it’s crucial to determine if your fence post needs a quick fix or a complete overhaul.
- Repair: If the damage is minor, like a small crack or localized rot, repairing is usually a viable option. This method is often quicker and saves you money.
- Replacement: If the post is severely rotted, broken, or leaning significantly, replacement is likely the best and safest route.
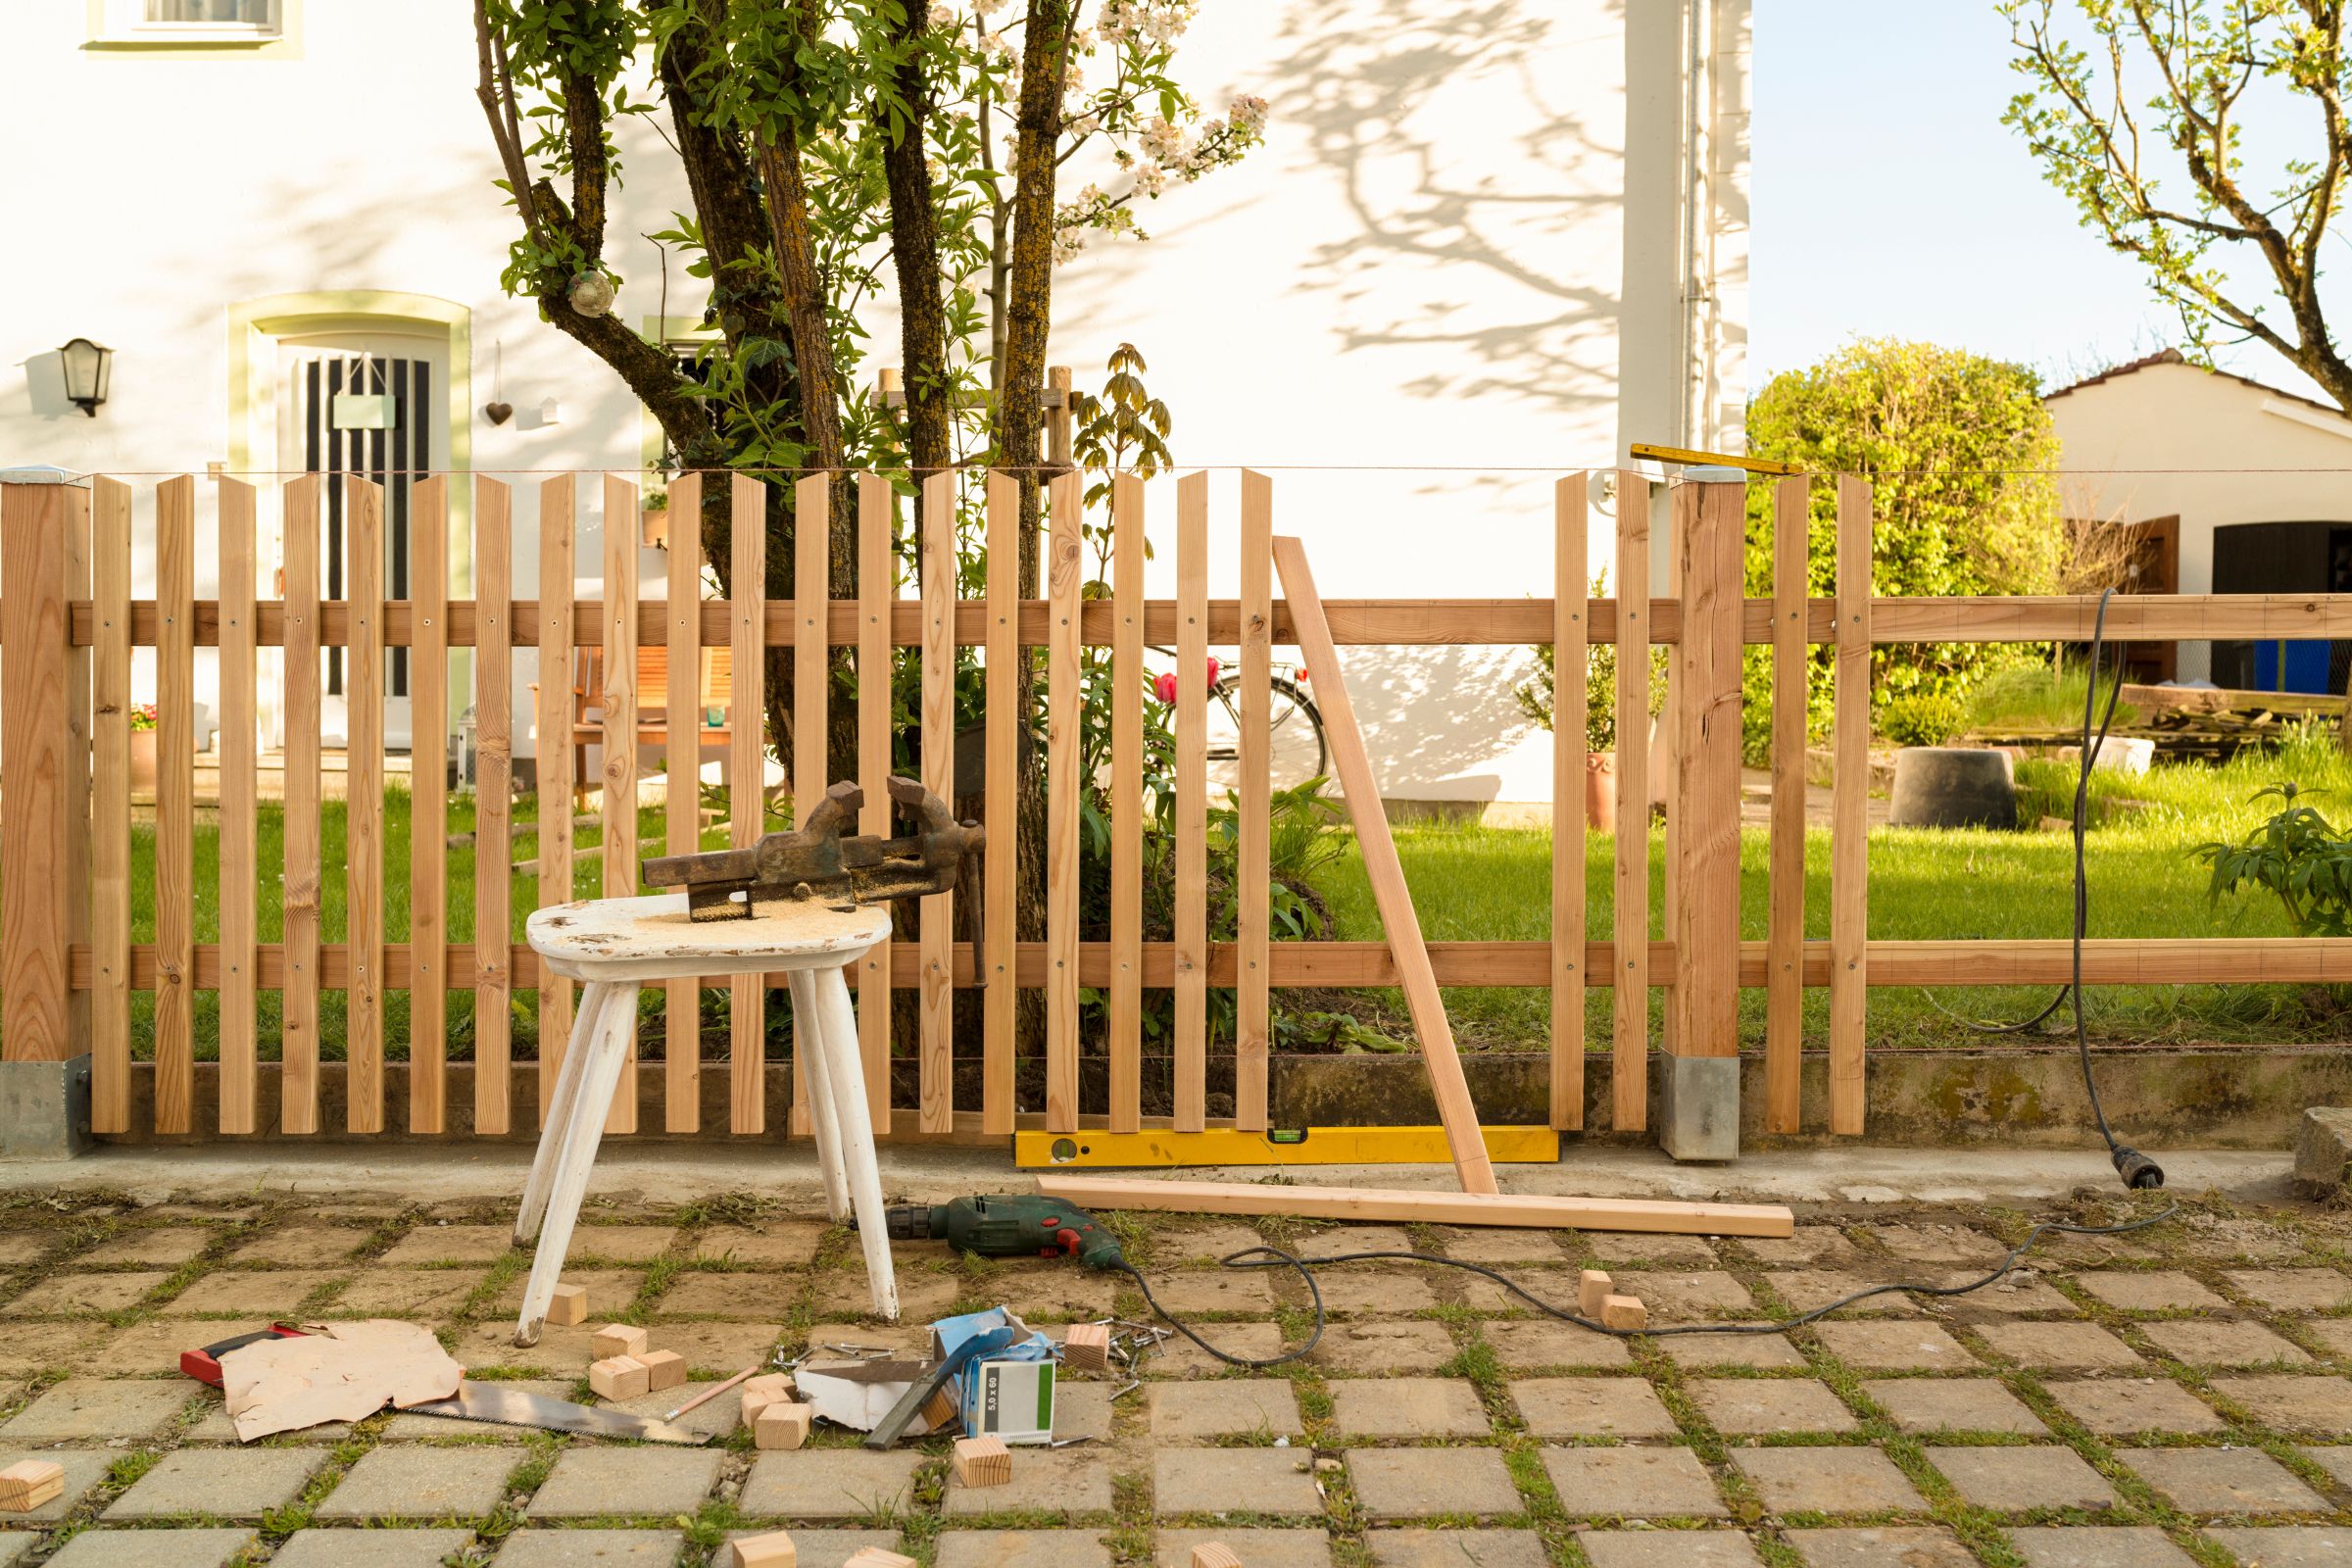
Essential Tools and Materials Needed for Repair
Before you roll up your sleeves, gather the right tools. Having everything at your fingertips will save you time and frustration. Here’s what you’ll typically need:
- Hammer
- Screwdriver or drill
- Saw (hand saw or reciprocating saw)
- Level
- Shovel
- Pry bar
- Measuring tape
Materials:
- Replacement wood (if needed)
- Wood sealant or protective coating
- Concrete mix (for new posts)
- Wood screws or nails
- Wood filler (for minor repairs)
Step-by-Step Guide to Repairing a Damaged Wooden Fence Post
So, are you ready to get your hands dirty? Let’s break down the process into manageable steps.
- Assess the Damage
- Remove the Damaged Post (If Necessary)
- Preparing for the New Post
- Secure the Post
- Repair Minor Damage to the Existing Post
- Reattach Fence Panels
Maintenance Tips for Wooden Fence Posts
Once you’ve repaired or replaced your wooden fence post, it’s important to keep up with maintenance to prevent future damage.
- Regular Inspections: Check for signs of rot or insect damage at least once a year.
- Seal and Treat: Apply a protective sealant every year or two. This keeps moisture at bay.
- Trim Vegetation: Keep plants and grass away from the base of your posts, as they can trap moisture.
Keep Your Fence Strong and Beautiful
Repairing or replacing a damaged wooden fence post doesn’t have to be an overwhelming task. With the right tools and knowledge, you can restore your fence to its former glory, ensuring it remains a strong and beautiful part of your home’s exterior.
And remember, if you ever find yourself in over your head, professional services, like ours offered by Carl’s Fencing, Decking and Home Improvements, can provide quality assistance. They can help ensure that your fence stands strong for years to come.
Related Posts

Can You Install a Fence in Winter in NJ? What Homeowners Should Know
Yes, you can often install a fence in winter in New Jersey. A lot of…

Is Rock Salt Ruining Your Stuff? De-icers vs. Decks, Steps, Railings, and Walkways
Winter in New Jersey means snow, ice, and the need for safe walkways. Many homeowners…

LED vs. Incandescent: What’s Best for Your Home?
When it comes to lighting your home—inside and out—the type of bulb you choose matters…